Retrospect New Log Entry
To create a new lessons learned record in the ETHOS Retrospect app, follow these steps:
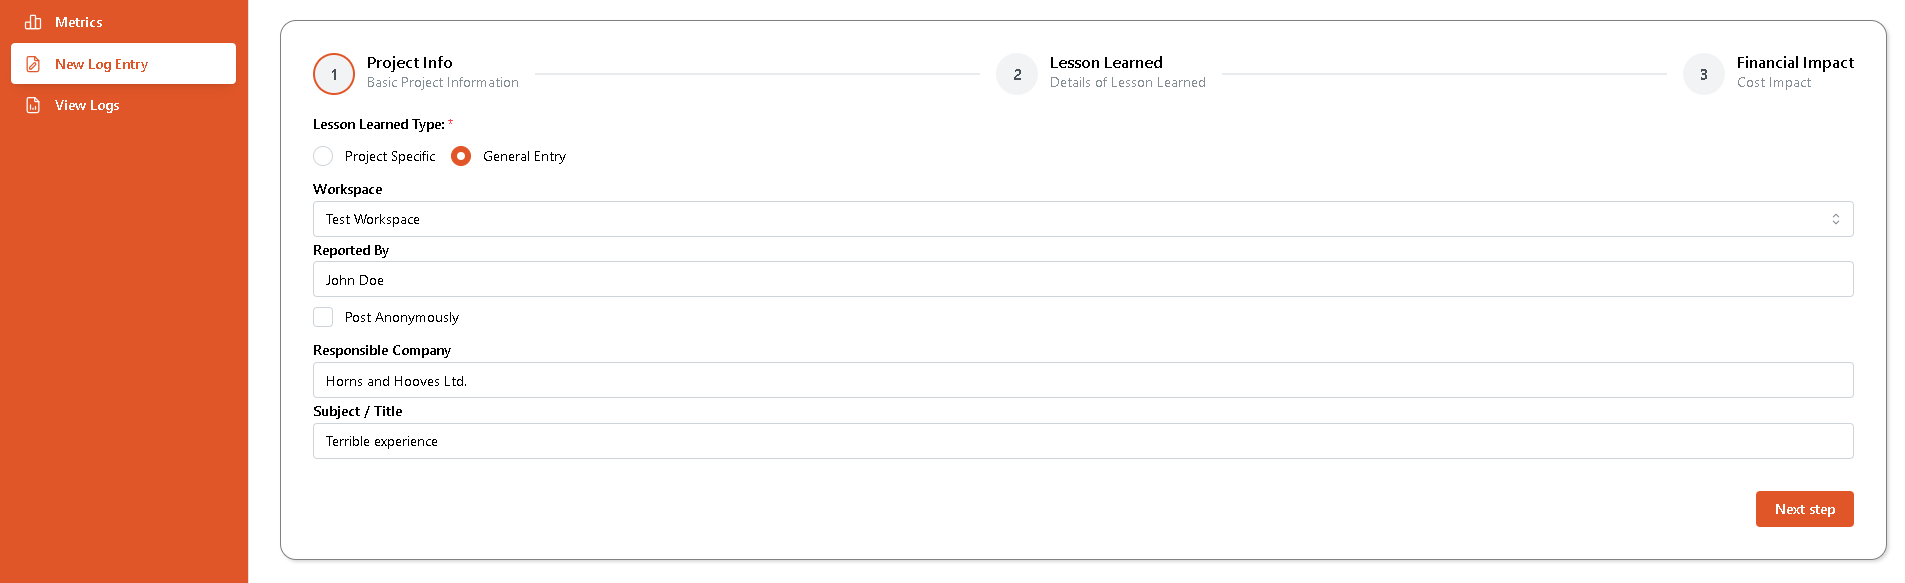
- Select the New Log Entry menu item from the left menu panel. This will launch the entry creation wizard, which consists of three steps:
- Project Info
- Lesson Learned
- Financial Impact
- At the Project Info step, you can select whether the lesson learned entry is for a specific project or a general entry. If you select Project Specific, you will need to enter the Project Number. Otherwise, select the workspace name. You can enter a partial workspace name to quickly search across the workspace list. Enter basic project information, such as the name of the person who reported the lesson learned, Responsible company, and Subject. You do not need to specify a reporter name if you check the Post Anonymously checkbox. Click Next Step to proceed to the second step.
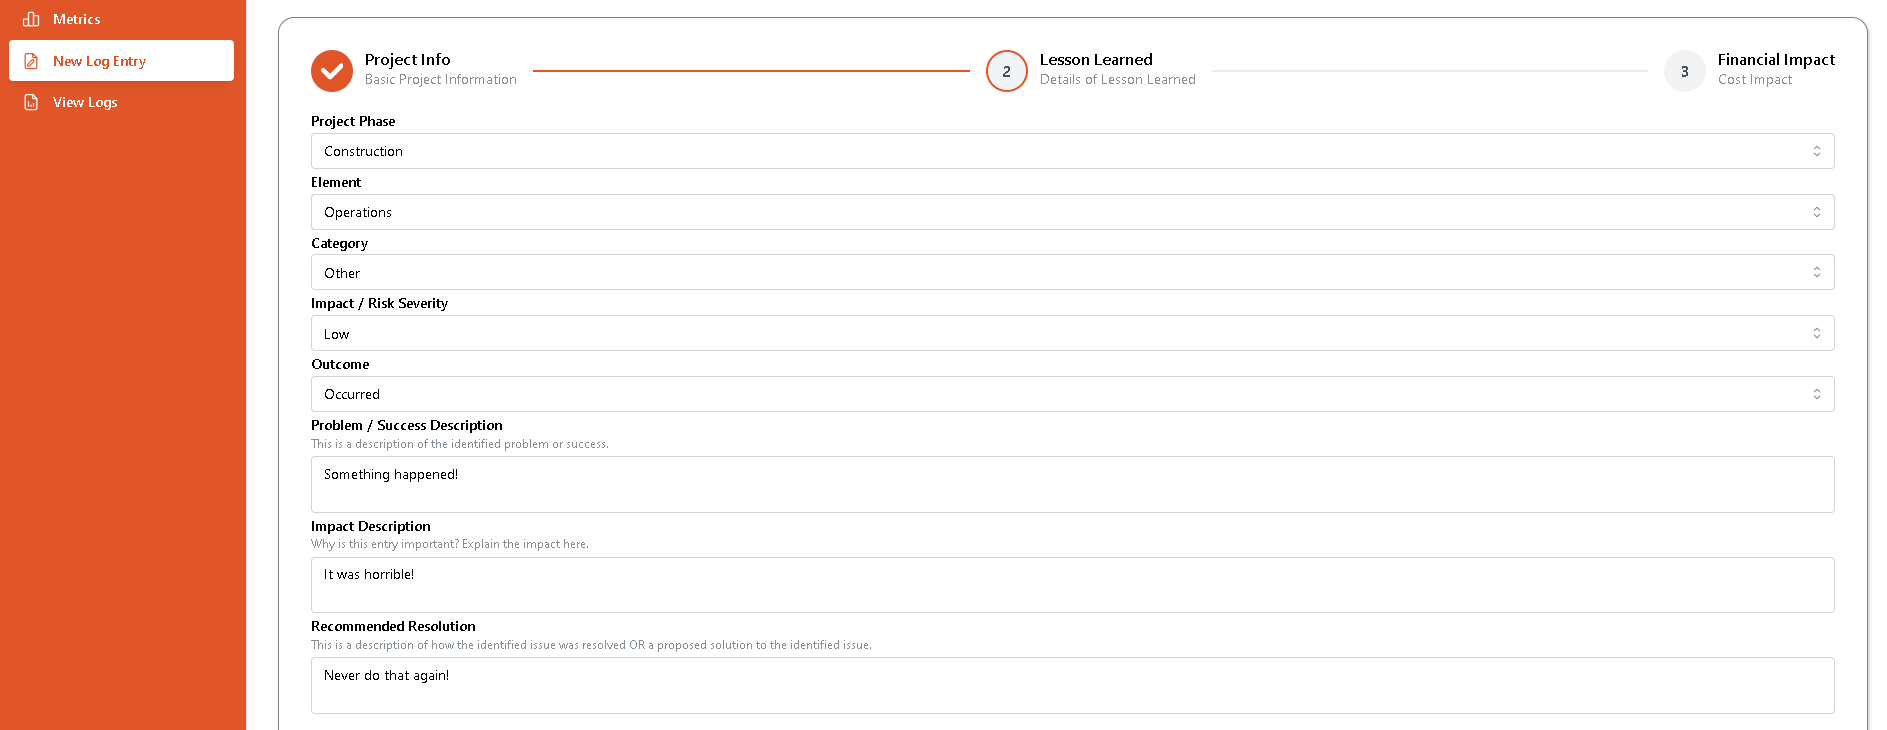
- At the Lesson Learned step, enter details on the lesson learned. Specify the Project Phase at which the event happened, which can be one of the following:
- Design
- Estimating
- Planning
- PreConstruction
- Construction
- CloseOut
- PostConstruction
Also, select the Element the lesson learned is related to, which can be one of the following:
- Quality
- Document Control
- Procurement
- Legal
- Operations
- Field Management
- Accounting
- HR
- HSE
- Environmental
- Estimating
- Engineering and Design
- Marketing and Business Development
- Subcontractor
- Supplier
Select the Category of the lesson, which can be one of the following (with corresponding subcategories):
- Architectural
- Civil
- Electrical
- Mechanical
- Structural
- Instrumentation
- Information Services
- Administration
- Environmental
- Other
Select the Impact or Risk Severity, which can be Low, Medium, or High.
Also, select the Outcome, which can either be Prevented or Occured.
Finally, describe the Problem/Success Description, Impact Description, and Recommended Resolution.
NOTE: all fields at the Lesson Learned step are mandatory
You can upload any supporting documents by clicking on the Select Files button at the bottom of the page or by dragging files over the Upload Files area. Click on Next Step at the bottom of the page to proceed to the final step.
- At the Financial Impact step, specify the Spent and Saved Costs, and whether they are Assumed or Actual. If there is no information available, choose Unknown.
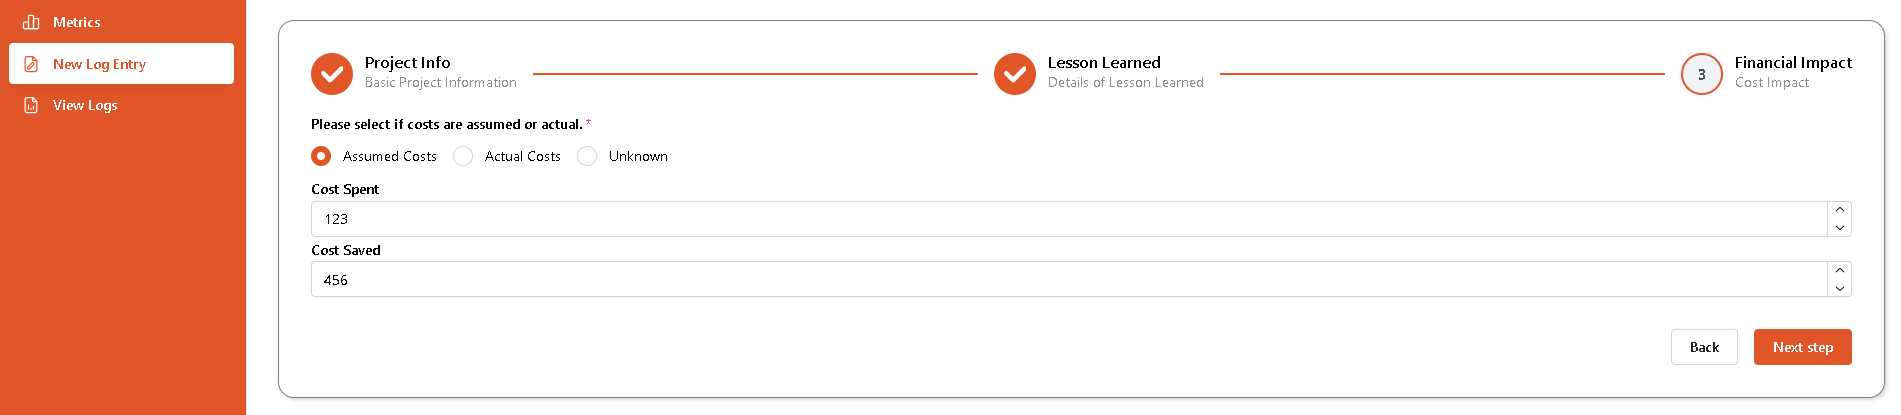
Finally, click on Next Step to review the lesson details and confirm by clicking the Submit button. You can always return to the previous step by clicking on the Back button.
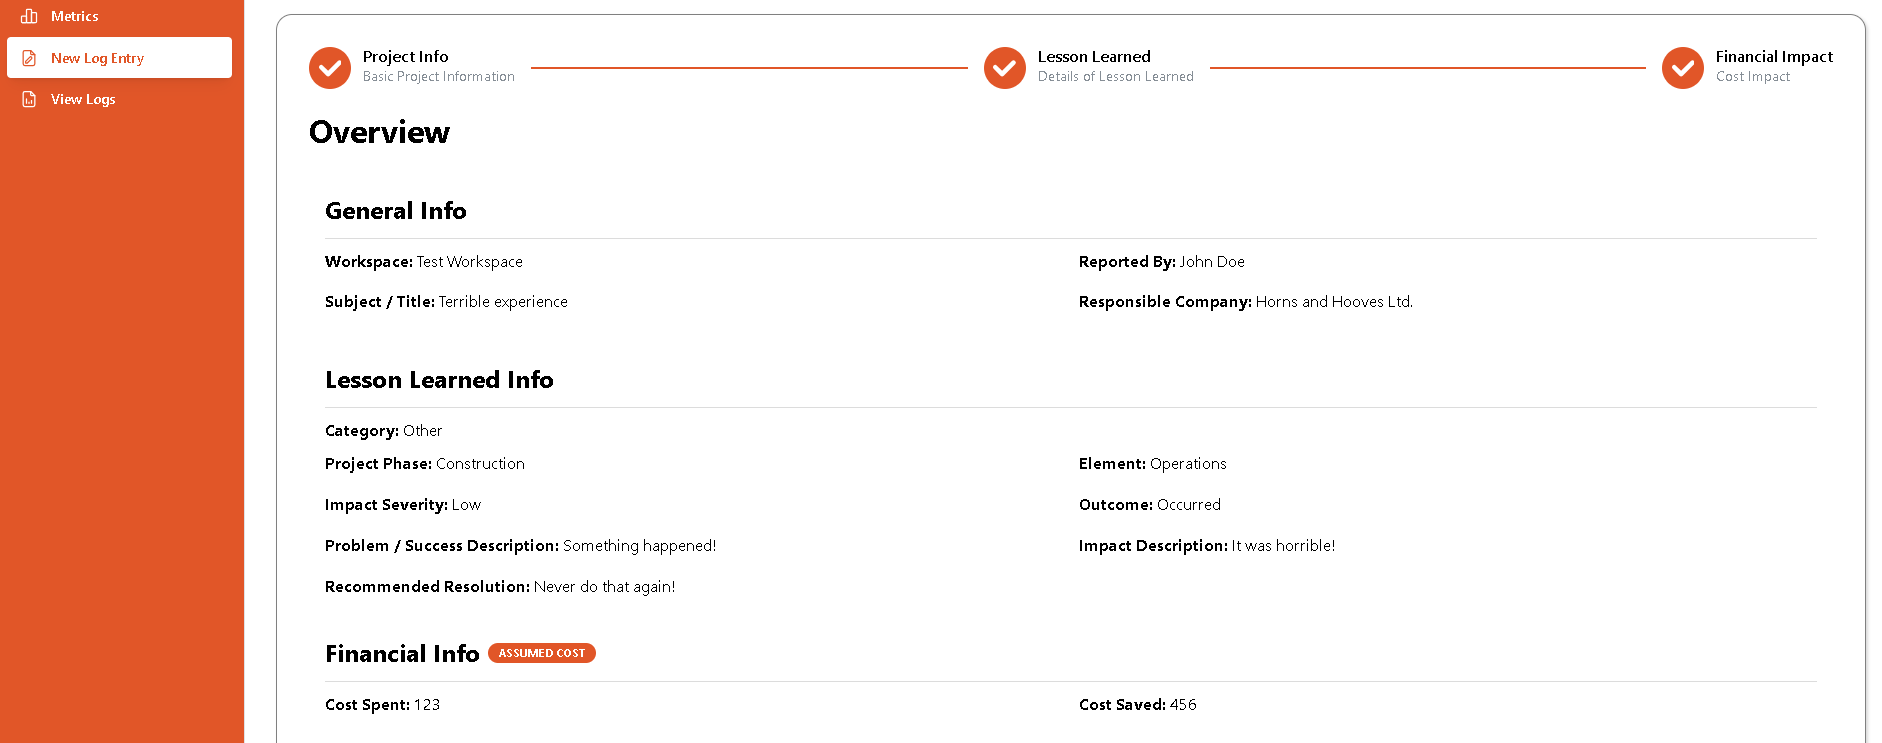
- After submitting the lesson learned entry, you will see a Successfully Added New Entry message. From there, you can click on the Add Another Entry button if you want to log another lesson or the View Logs button if you want to view existing logs.
