Check-In and Check-Out Asset
Check-Out Asset
Before taking over or using an asset, the person who will be responsible for it should check it out and ensure that they will take care of and keep custody of the asset. Once asset is checked out availability status will be changed in Asset Manager.
In order to check-out an asset, pick it in the Asset List, open in a single view page and click on the Check Out button at the top of the page. After confirming by clicking Yes, you will be asked to update asset status.
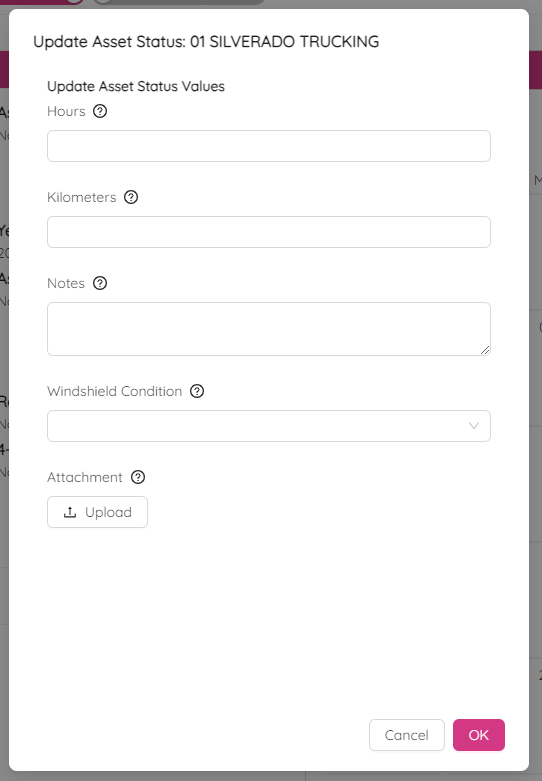
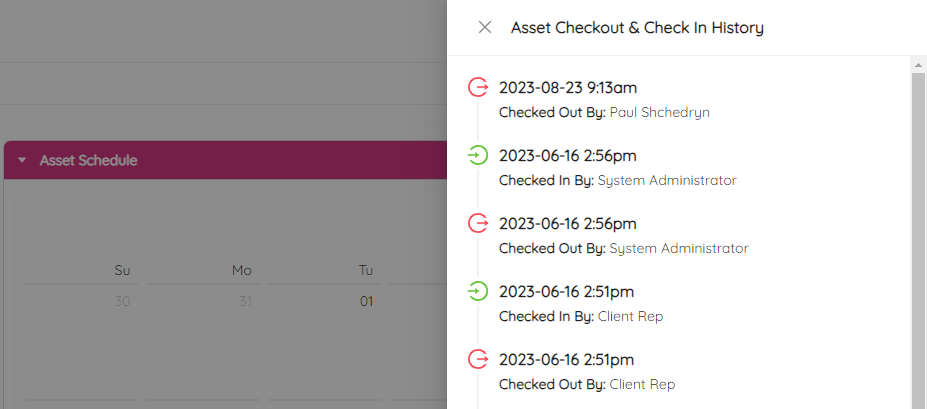
The status will change to Checked Out as below in the asset history with a red colour code.
NOTE: You can view Asset Checkout & Check In History panel simply by clicking on the Checkout History button.
Asset will be removed from the list of assets available to checked-out in the Checkout Manager module.
Check-In Asset
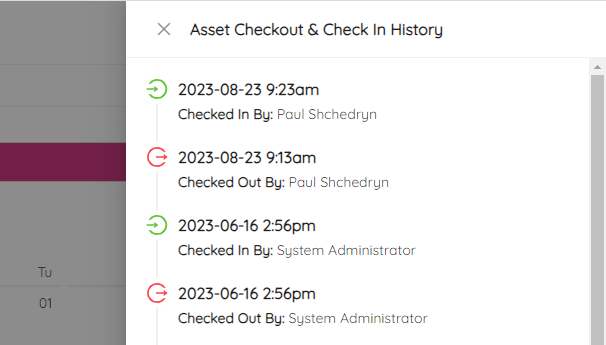
Click on the Check In button in order to check-in an asset. After confirming you will see that the asset status was changed to Checked In in the checkout history.
Asset will be removed from the list of assets available to check-in in the Checkout Manager module.